Adding a Health Bar to a 2D game
2D Game Design with Unity
🕑 This lesson will take about 30 minutes
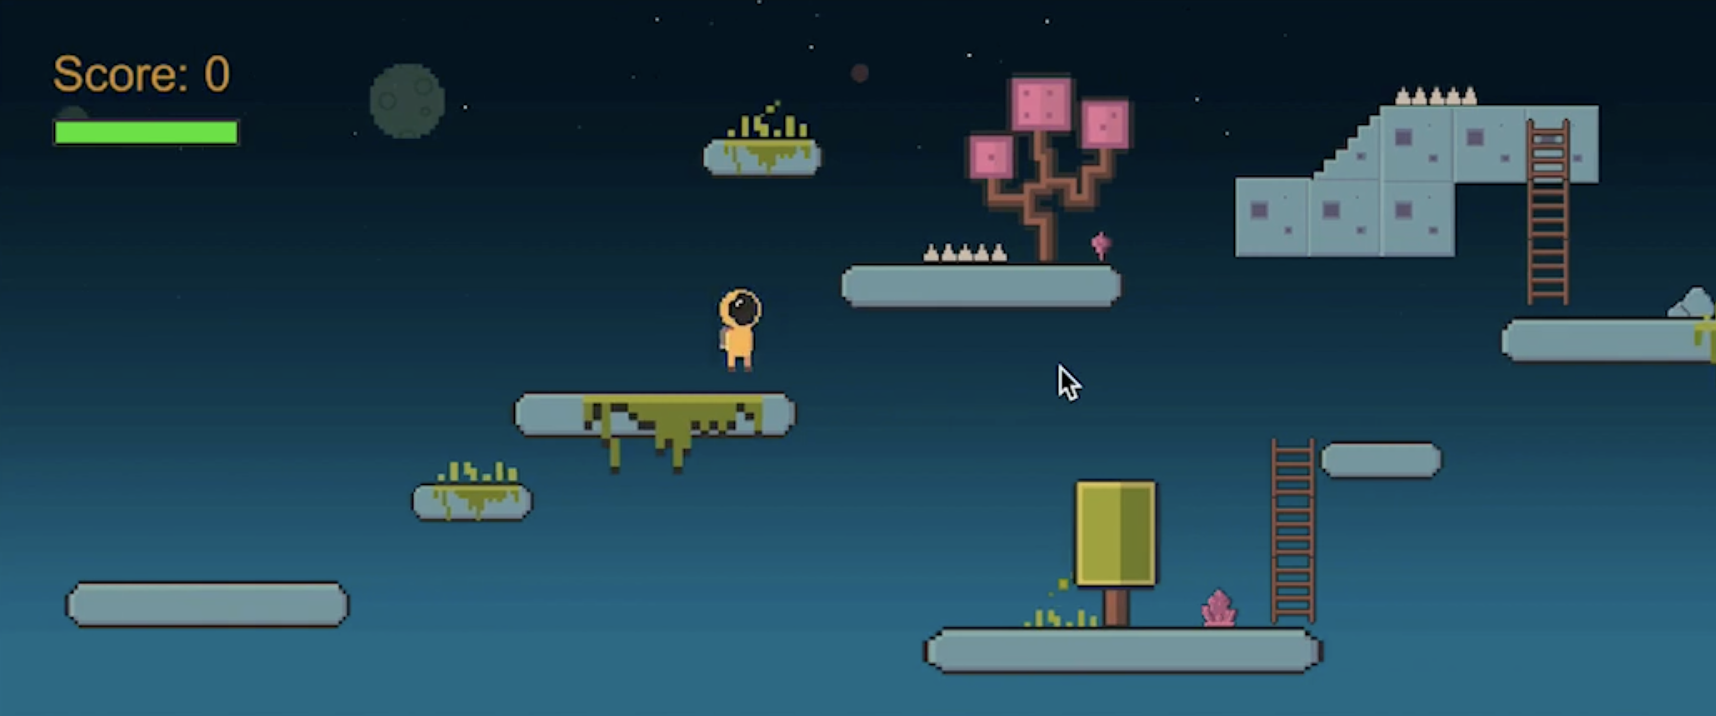
In this lesson, you will learn how to implement a Health Bar that displays the player’s health on-screen and how to reduce or increase the player’s health. This will involve adding some obstacles or hazards that reduce health when the player collides with them, writing code that reduces the player’s health, and adding a Health Bar to the canvas that represents the player’s current health level. The code can be easily modified if you want to add health pick-ups to increase the player’s health or to reduce the player’s health in other ways (eg. when fighting an enemy).
To implement a health system and health bar, we will need to write code in three separate scripts:
‘PlayerController.cs’ - code will be added to this existing script we have been working on throughout the course to detect collisions with obstacles/hazards such as spikes
‘Health.cs’ - this script will be responsible for maintaining the health value across each scene/level in the game (you can modify this script if you want health to regenerate when a player progress to the next level)
‘HealthBar.cs’ - this script is responsible for updating the visual health bar on the user interface (UI) canvas to display the player’s current health level and updating the health value in the ‘Health.cs’ script
The Health Bar will shrink and change colour from green to red as the player’s health reduces during the game, as shown in the two images below.
Game art, tiles and sprites from the Free Pixel Space Platform pack are used in this lesson video and can be downloaded from the Unity Asset Store.
Watch the three videos below and then scroll down for the complete sample code.
Is YouTube blocked at school? Watch on Google Drive.

