Adding a mini-map to a 3D game in Unity
3D Game Design with Unity
🕑 This lesson will take about 12 minutes
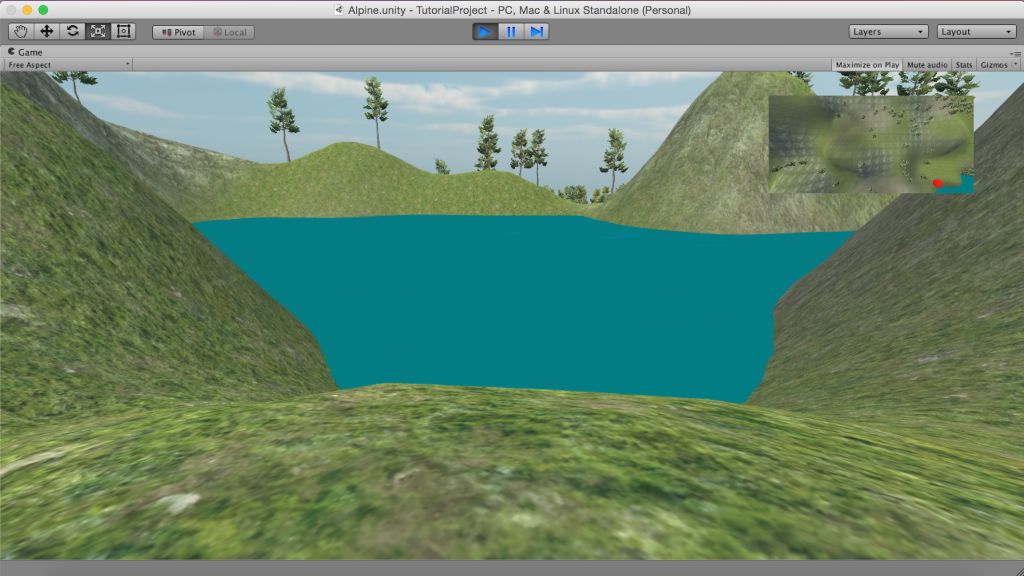
In this lesson, you will learn how to use a picture-in-picture (PIP) effect to display a mini-map in the top corner of the screen. The map allows a player to see where they are located in the game world and where nearby landmarks, objects or other players are.
The screenshot below shows a game with a first-person view as the main camera and a second camera for the mini-map showing the player’s location in the game world in the top right corner of the screen.
A picture-in-picture (PIP) map in a first-person view game.
Watch the video below to learn how to add a mini-map to a 3D game in Unity.
Is YouTube blocked at school? Watch on Google Drive.
Note: In the scene shown in the video, you can’t actually see the red sphere (marking the player’s position in the game world) in the first-person view because the character is inside the sphere. However, if you were using a third-person view, you would see the sphere. In this case, you would want to hide the sphere on the third-person view camera and only show it on the map camera. This is possible to achieve with the use of layers which is what we will look at in the next lesson. Even if you are using the first-person view, it might be best to use layers to hide the marker so it is only visible on the mini-map and doesn’t accidentally show up in the first-person view (eg. if it is positioned above the player and the player looks up).
Tip: You might want to have the object that represents a blip on the map to be higher so that it is still visible if a character goes inside a building or cave or under another object.
Go further
See if you can work out how to have the map camera follow the player around so that their blip doesn’t disappear off the map. This is something you will need to know if you have large scenes where the camera does not cover the entire scene.
Next lesson: Using layers in Unity
