Installing Django
Building web applications with Python & Django
🕑 This lesson will take about 20 minutes
Installing Python and VS Code
Before you can start installing Django, you’ll need to have Python and a code editor installed on the device you’ll be using to develop your web applications. For this course, we’ll be using Python 3 (specifically version 3.10, however other versions of Python 3 will work fine) and Visual Studio Code (VS Code). VS Code is the suggested code editor as it provides several extensions that will make the development of your web applications using Django much easier.
For instructions on how to install Python and VS code, you can refer back to the first lesson from the Python coding course here.
Installing Django
Before installing Django, make sure you have Python 3 and Visual Studio Code (VS Code) installed.
Install recommended VS Code extensions
Some VS Code extensions will be used throughout this course and are recommended to be installed:
Python
SQLite
Check your Python installation version
Now, that you have Python installed, you’ll need to make a note of which specific version of Python is installed. In Visual Studio Code, open the Terminal (click Terminal from the top menu and then click Run Terminal). Depending on which operating system you have, you’ll need to use one of the following commands to get the specific version number of the installation:
On Windows:
python --version
(You might also be able to use py -3 -m venv .venv on Windows)
On Mac or Linux:
python3 --version
If one of the commands doesn’t work, try the other. Once you type in the command and press the Return/Enter key, the terminal will display your installed Python version number.
Create and open a project folder/directory in VS Code
In this course, I’m using Python 3.10 but make a note of your own Python installation version.
Make a folder to store your first Django project (eg. a folder on your desktop) and then open the folder in VS Code (Click File > Open Folder). In this course, the example folder will be called django_project.
Create a virtual environment for the project
The next step is to create a virtual environment in your project folder using the following command in the Terminal - make sure that you reference the version number of Python you have installed at the beginning of the command).
On Windows:
python -m venv venv
If that doesn’t work, try py -3 -m venv .venv on Windows.
On Mac or Linux:
python3 -m venv venv
This command is used to create a virtual environment (which venv is short for). The last part of the command is the name of the directory for your virtual environment. You can call it what you like (I’ll call it venv in this example). This is where libraries and other things will be stored that are required to run the application.
If you’re having issues setting up on Windows, try following the steps here. You can also try using the Command Prompt terminal instead of PowerShell in VS Code.
After running this command, you’ll notice a bunch of directories and files have been created inside a directory called venv within the project directory. In these screenshots, you’ll see folders like bin, include and lib inside the venv folder (on Mac), but if you’re using Windows, you might have a slightly different list of folders.
Create a requirements.txt file
Create a new file called requirements.txt in the main project directory (eg. django_project folder).
To do this, you can run the following command in Visual Studio Code’s terminal:
touch requirements.txt
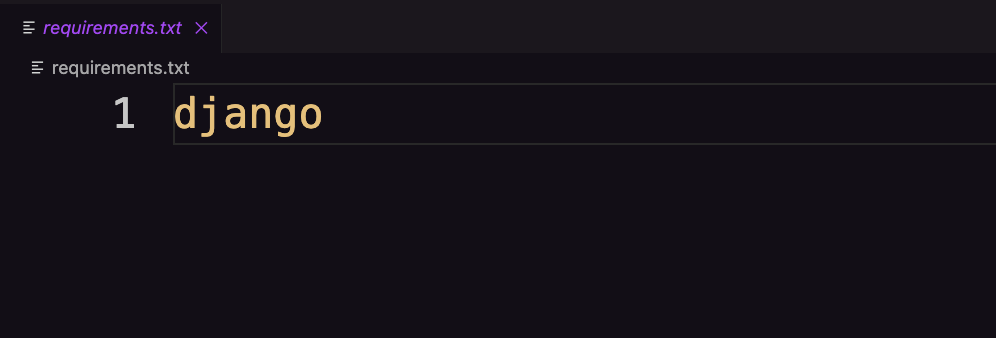
Open the newly created requirements.txt file and list django as the first requirement in the text file. The purpose of this is that if someone clones your project (eg. through GitHub), or when it is deployed, other developers will know what libraries are required and need to be installed to run the application. We will also be able to use this file in a command to automate the installation of all the frameworks for our project easily in one step. This is good practice!
Activate the project
Now activate the project by running the following command in the VS Code terminal.
On Windows:
.\\venv\\Scripts\\Activate
Or, if that doesn’t work, try .venv\scripts\activate on Windows.
On Mac or Linux:
source ./venv/bin/activate
Install Django using the requirements.txt file
Run the following command to install Django:
On Windows:
pip install -r requirements.txt
On Mac or Linux:
pip3 install -r requirements.txt
(use the pip command instead of pip3 if you’re not using Python 3)
Because Django is in the requirements file, Django will be installed for you and should be ready to go! In the next lesson, we’ll look at how to create a new project and apps.
Next lesson: Creating your first project and apps


