Play sounds with a piezo buzzer and Arduino
Arduino Uno tutorials
🕑 This lesson will take about 15 minutes
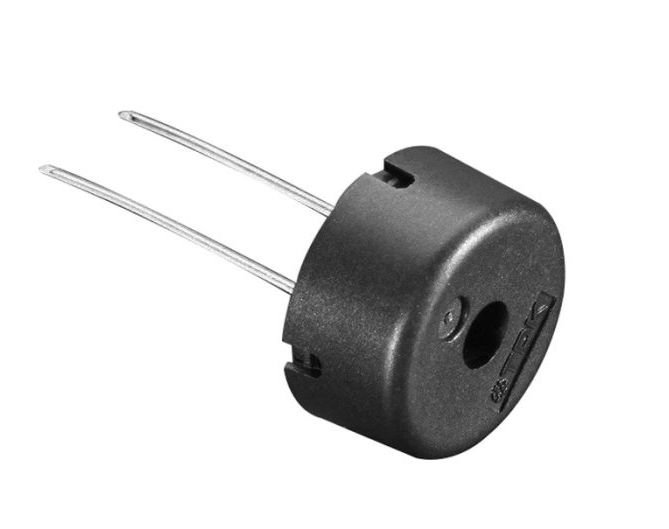
Piezo buzzers are used to beep, make sounds or play a melody. Piezo buzzers usually have two pins: a negative pin that connects to GND on the Arduino and a positive pin (connected to one of the digital pin slots on the Arduino) that receives control signals from the Arduino. The piezo buzzer can play sounds at different frequencies to create a melody. This can be achieved by using the tone() function to change the frequency of the voltage sent to the buzzer from the Arduino.
Required parts
1 x Arduino Uno
1 x Piezo buzzer
1 x breadboard
2 x male-to-male jumper wires
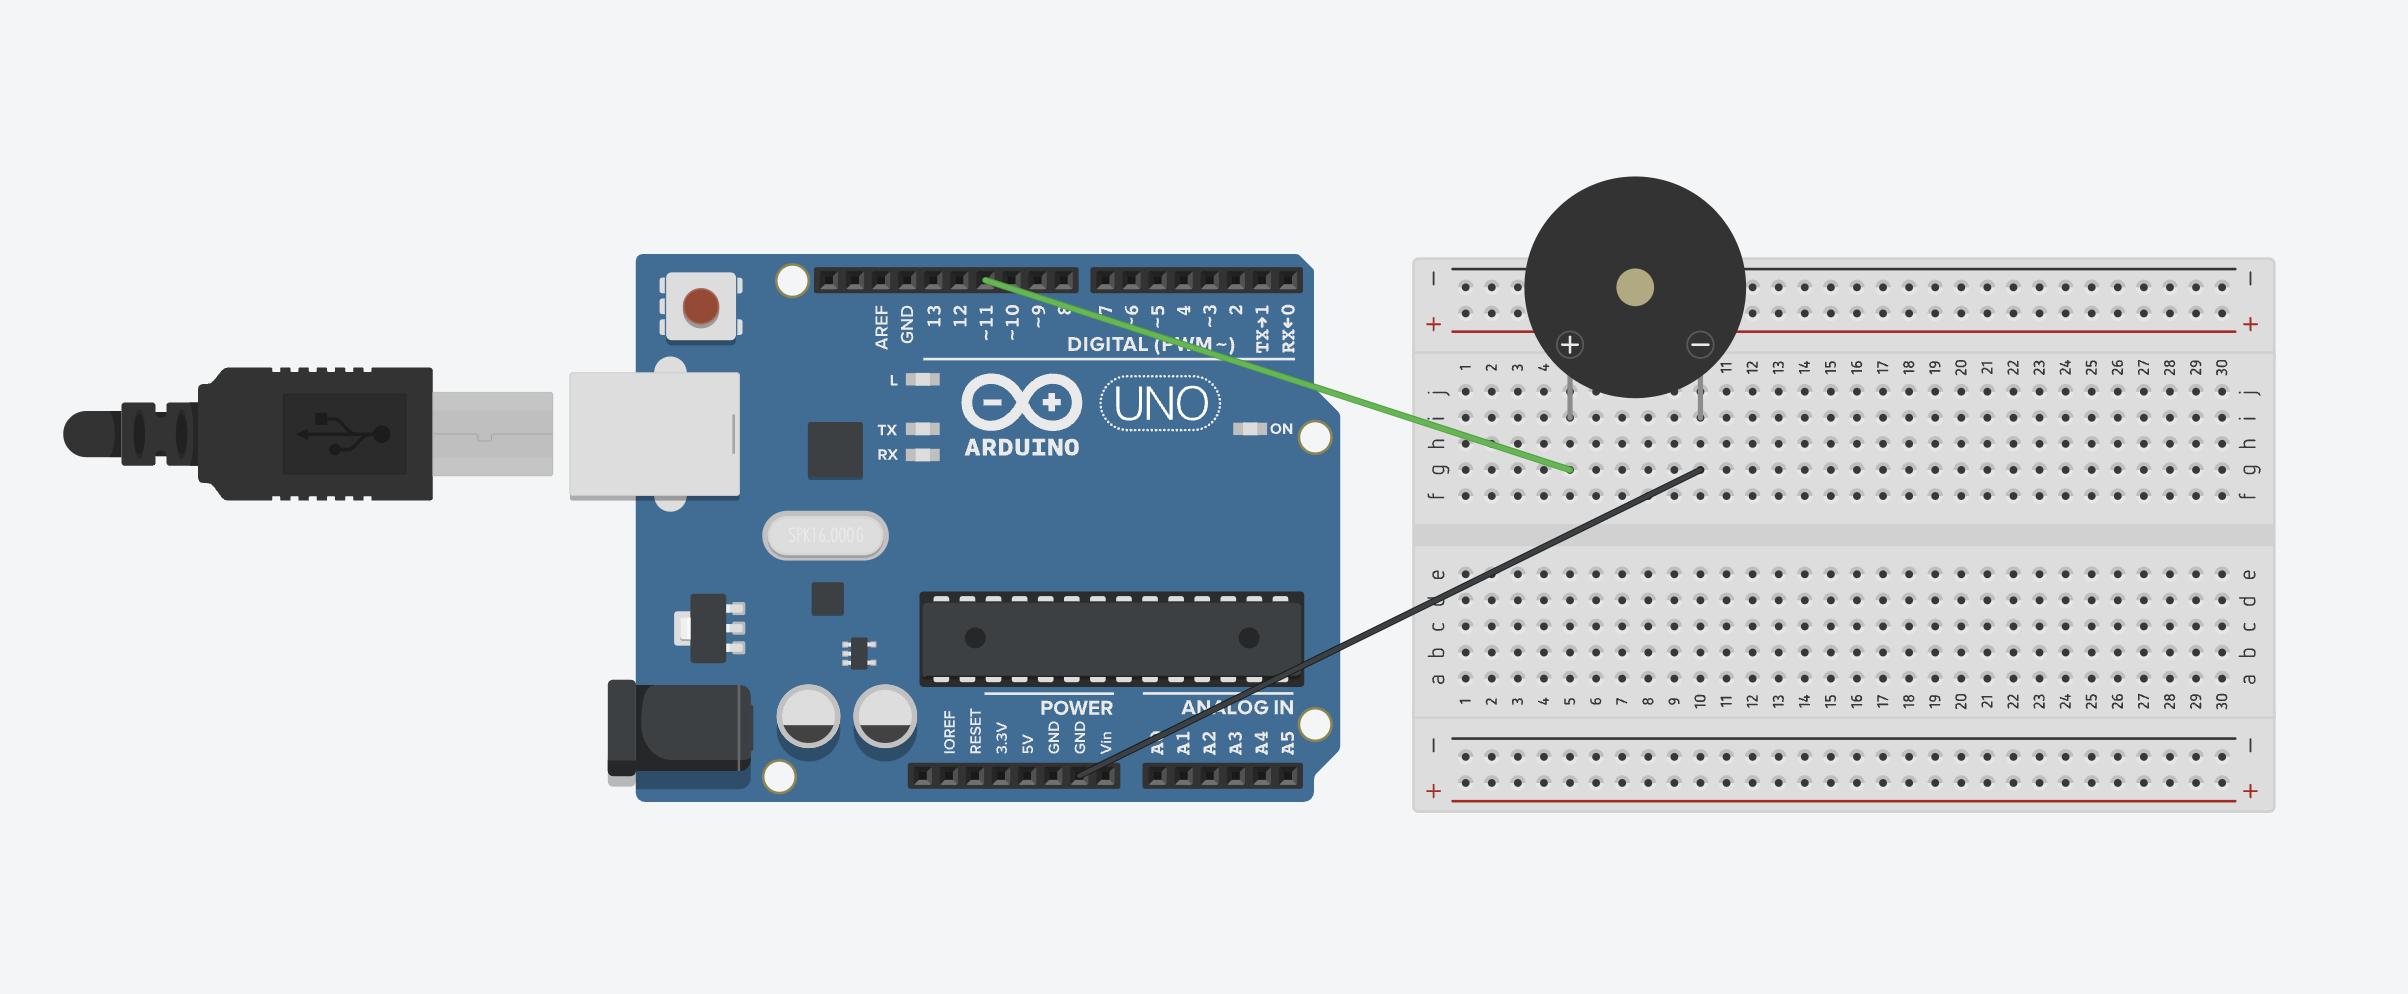
Wiring schematic
Connect the negative (-) pin on the piezo buzzer to one of the GND slots on the Arduino.
Connect the positive (+) pin on the piezo buzzer to digital PWM pin 11 on the Arduino.
The code
The tone() function can play a sound at a specified frequency. A duration (how long to play the sound for) can be specified in the code, otherwise, the wave will continue until the noTone() function is called. The tone() function has two parameters - the pin that the buzzer is connected to, and the frequency. For example, to play a sound at a frequency of 200 Hz on a buzzer connected to pin 11, you would write tone(11, 200); and to stop this sound on this buzzer, you would write noTone(11);
Syntax:
tone(pin_number, frequency)
noTone(pin_number)
The example code below shows how to play a short beep with a piezo buzzer. The sound will play at a frequency of 200 Hz for half a second, then stop playing for half a second, and repeat.
Playing melodies with the buzzer
You can also find code for different melodies such as Happy Birthday, Christmas songs, Mario theme, Harry Potter theme, Star Wars theme, and more here. These examples define notes and then the duration of each note to create a melody.