Introduction to Node.js and Express
Build web apps with NodeJS & Express
🕑 This lesson will take about 20 minutes
What is Node.js?
Node.js is a JavaScript runtime built on Chrome's V8 JavaScript engine. It allows developers to run JavaScript on the server side (instead of in the user’s browser) and create server-side applications with JavaScript. Node.js allows you to create dynamic web-based apps that can handle different requests from users and provide different responses based on those requests. You can also connect your web app to a database to store, retrieve, update and manage data.
Express is a popular web application framework for Node.js that provides a set of features for building web and mobile applications, such as routing, middleware, and templating (we’ll go through what this all means later). Express runs on top of Node.js and is designed to be fast and lightweight with the option of installing extra features that you might need, if and when you need them.
Node.js and Express are often used together to build web applications because they make it easy to build scalable and performant applications using JavaScript. Node.js allows developers to use JavaScript on the server side, while Express provides a set of tools and features for building web applications with Node.js.
Here is a simple example of how you can use Node.js and Express to create a simple web server:
To build a web app with Node.js and Express, you should have some experience with the following languages:
How do I get started?
To create a Node.js / Express web application, you will need a server to store and execute (run) your code. This can be achieved in a few different ways. To get started, you could:
Install Node.js and Express on your own computer and use a code editor (such as Visual Studio Code) to write, run and test code locally, or
Use a cloud-based code editor like replit.com to write and test your code in a browser
In this tutorial series, you will be shown how to install and set up Node.js on your own computer and also how to use repl.it to edit and test the code in the cloud without the need to install anything. If you'd like to install Node.js and Express yourself, follow the instructions below.
Step 1 - Install Node.js and Express
The instructions for installing and setting up Node.js and Express will vary depending on whether you are going to install Node.js and Express on your own device to write code and run your server locally on your device, or if you are going to use replit.com to write and test your code in the cloud instead. Select one of the options below and then continue on.
-
Go to https://nodejs.org/en/download and download and install Node.js on your device (a Mac will be used in this example but the instructions are the same for both Windows and Mac).
Download and install Visual Studio Code from https://code.visualstudio.com .
Continue on to Step 2.
-
Go to www.replit.com and create a free account. Sign in to your account.
You can create a new Node.js project (repl) or just fork (copy) a template a template to get started. I have made a Node.js + Express template that contains the code you need to get started without having to install anything on your computer. Just go to https://replit.com/@danielkwood/expressstarter and click the ‘Fork’ button to make a copy of this project to your own account. You can now add and edit files in this project. Just click Run to test your code.
You can now skip to Step 4 and follow the instructions from there. The instructions will be based on the assumption you have installed Node.js and Express on your own device, so just follow these tips below if you’re using replit.com instead.
Whenever you see the instruction to run the command “node index.js” in the terminal, you can just click Run button in replit instead.
You also won’t need to navigate to the “localhost:3000” path in your browser to view your server/app that is running. Instead, when you click the Run button, you will see a preview of the app running on replit’s own servers in a small panel. You can click the ‘Open in a new tab’ button to view the app in a new tab. Just change the path in the address bar in your browser to view other pages.
When you need to install other packages, you can click the Packages button to search for install packages for your app. Alternatively, you can edit the package.json file and the next time you run/restart the server, the added package(s) should automatically install.
Step 2 - Create a new project
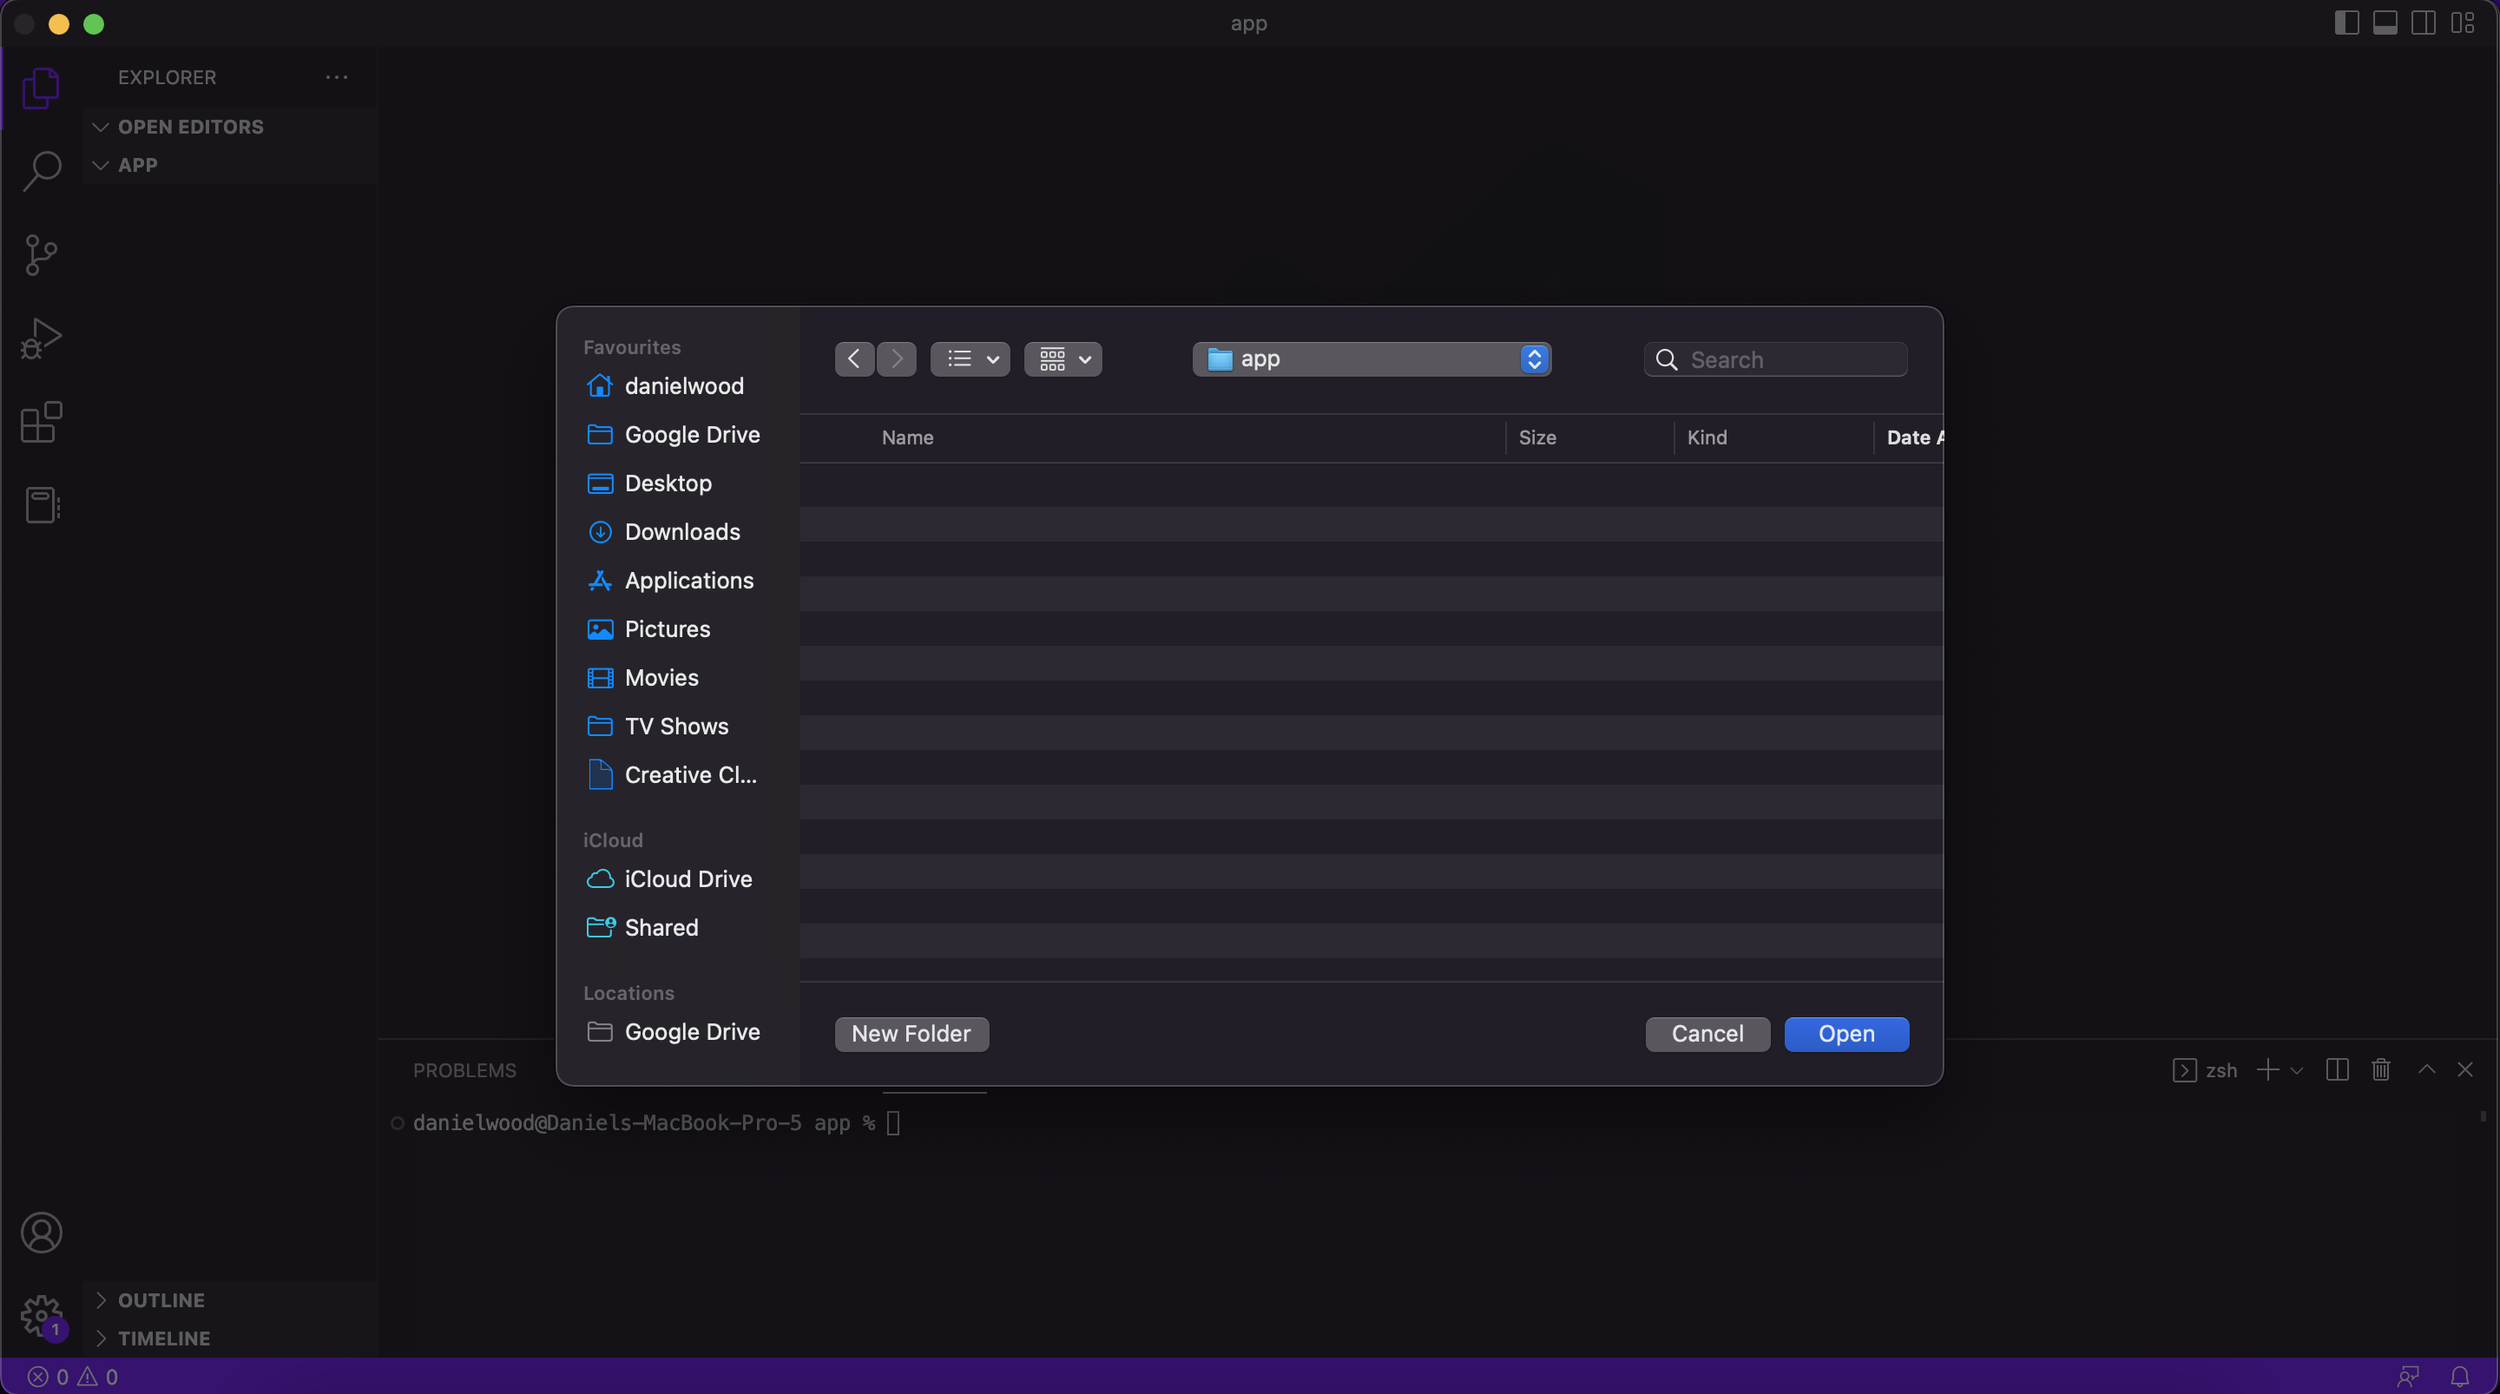
If you’re writing your code and running the server on your own device, you will need to create a new folder/directory on your computer to store your project. In this example, a folder called ‘app’ has been created on the Desktop (using a Mac). This folder will store all of the code for the app.
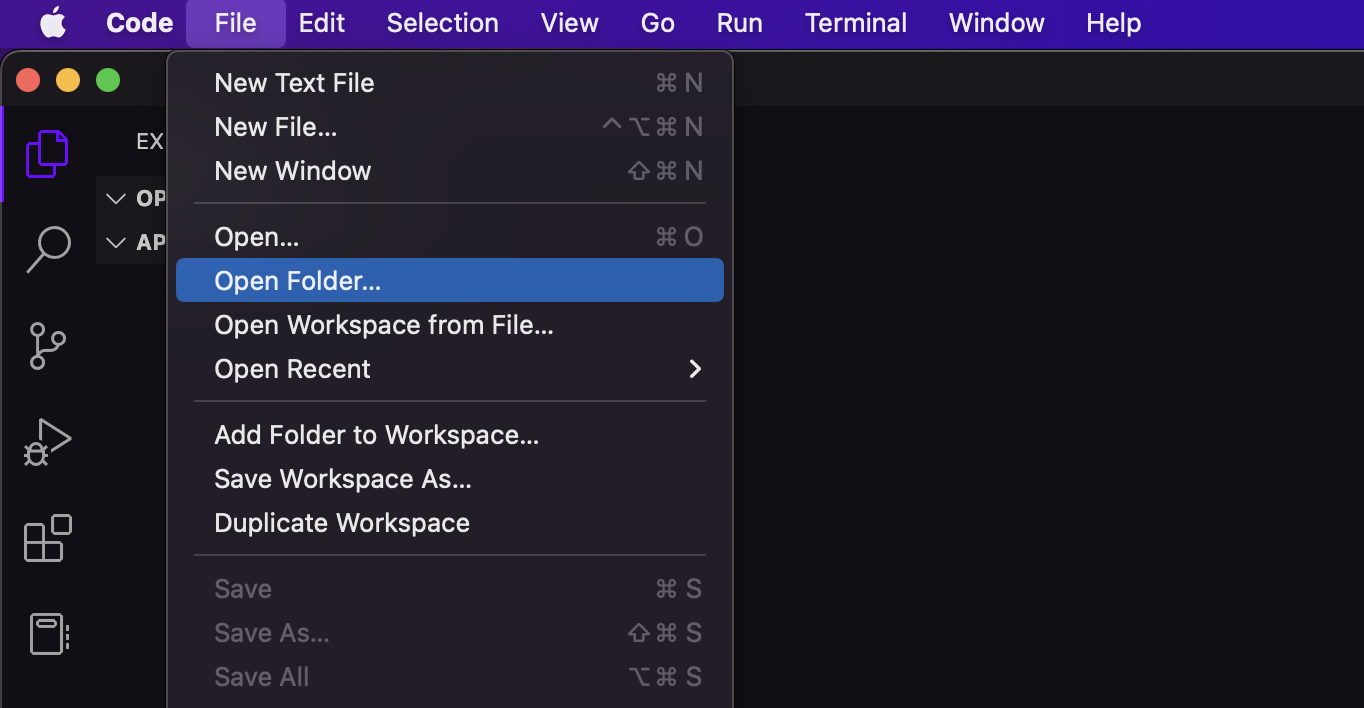
Open Visual Studio Code. Click File > Open Folder.
Select your project folder and click Open.
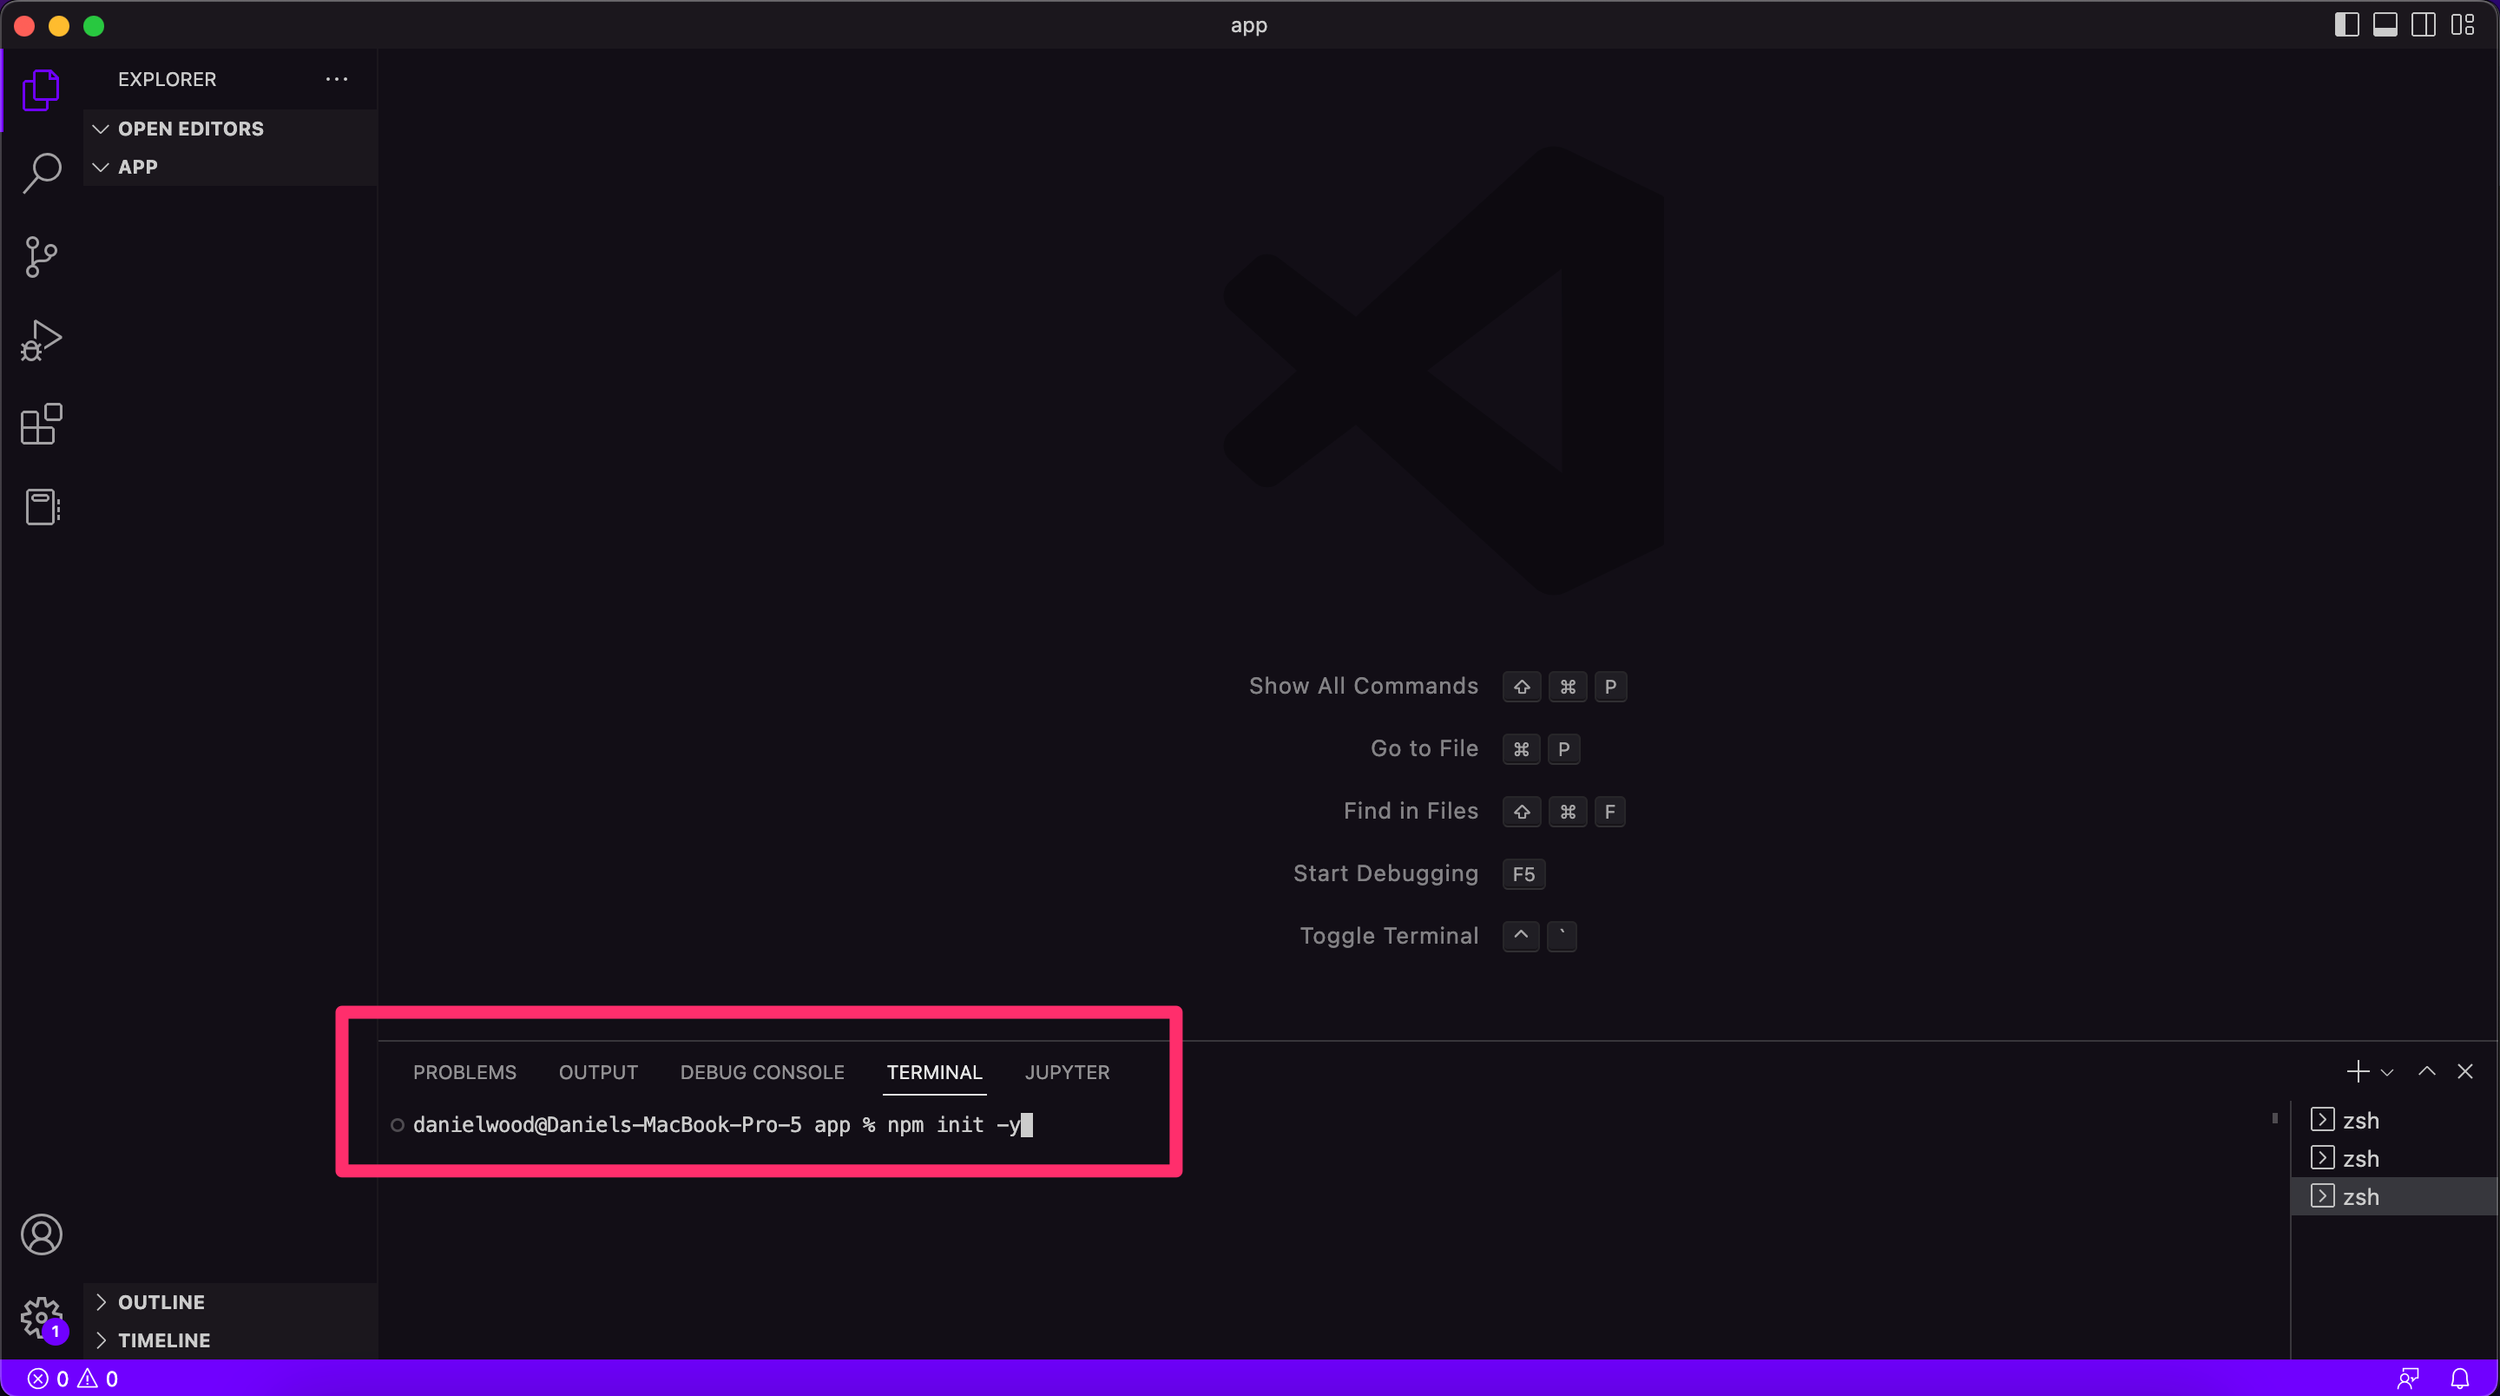
Click Terminal > New Terminal from the top menu bar in Visual Studio Code (or press Shift + Control + ` ) to open a new terminal. The next step is to create a new package.json file which is where we will install different libraries we will use for this project, including the library express. Enter the following command in the terminal to generate a new package.json file in your project folder. Press the Enter/return key to run the command.
npm init -y
You can also use the Mac Terminal or Windows Command Prompt (cmd) instead of Visual Studio’s built-in terminal. If using Mac Terminal or Windows Command Prompt, firstly you will need to navigate to your project folder/directory by using the change directory (cd) command. For example, if using a Mac, enter cd Desktop/app in Terminal and then press the enter/return key to navigate to the project folder/directory. If using Windows Command Prompt, you can type in the cd command and then drag the project folder icon into Command Prompt and press the enter/return key to navigate to the project folder/directory. Note that you can only use one terminal at a time to run your server. If you wish to stop running the server in one terminal window to switch to another terminal, you can run the command killall node from the terminal you have been using before switching to another terminal. Once you have navigated to the project folder/directory, you can run the npm init -y command in the terminal.
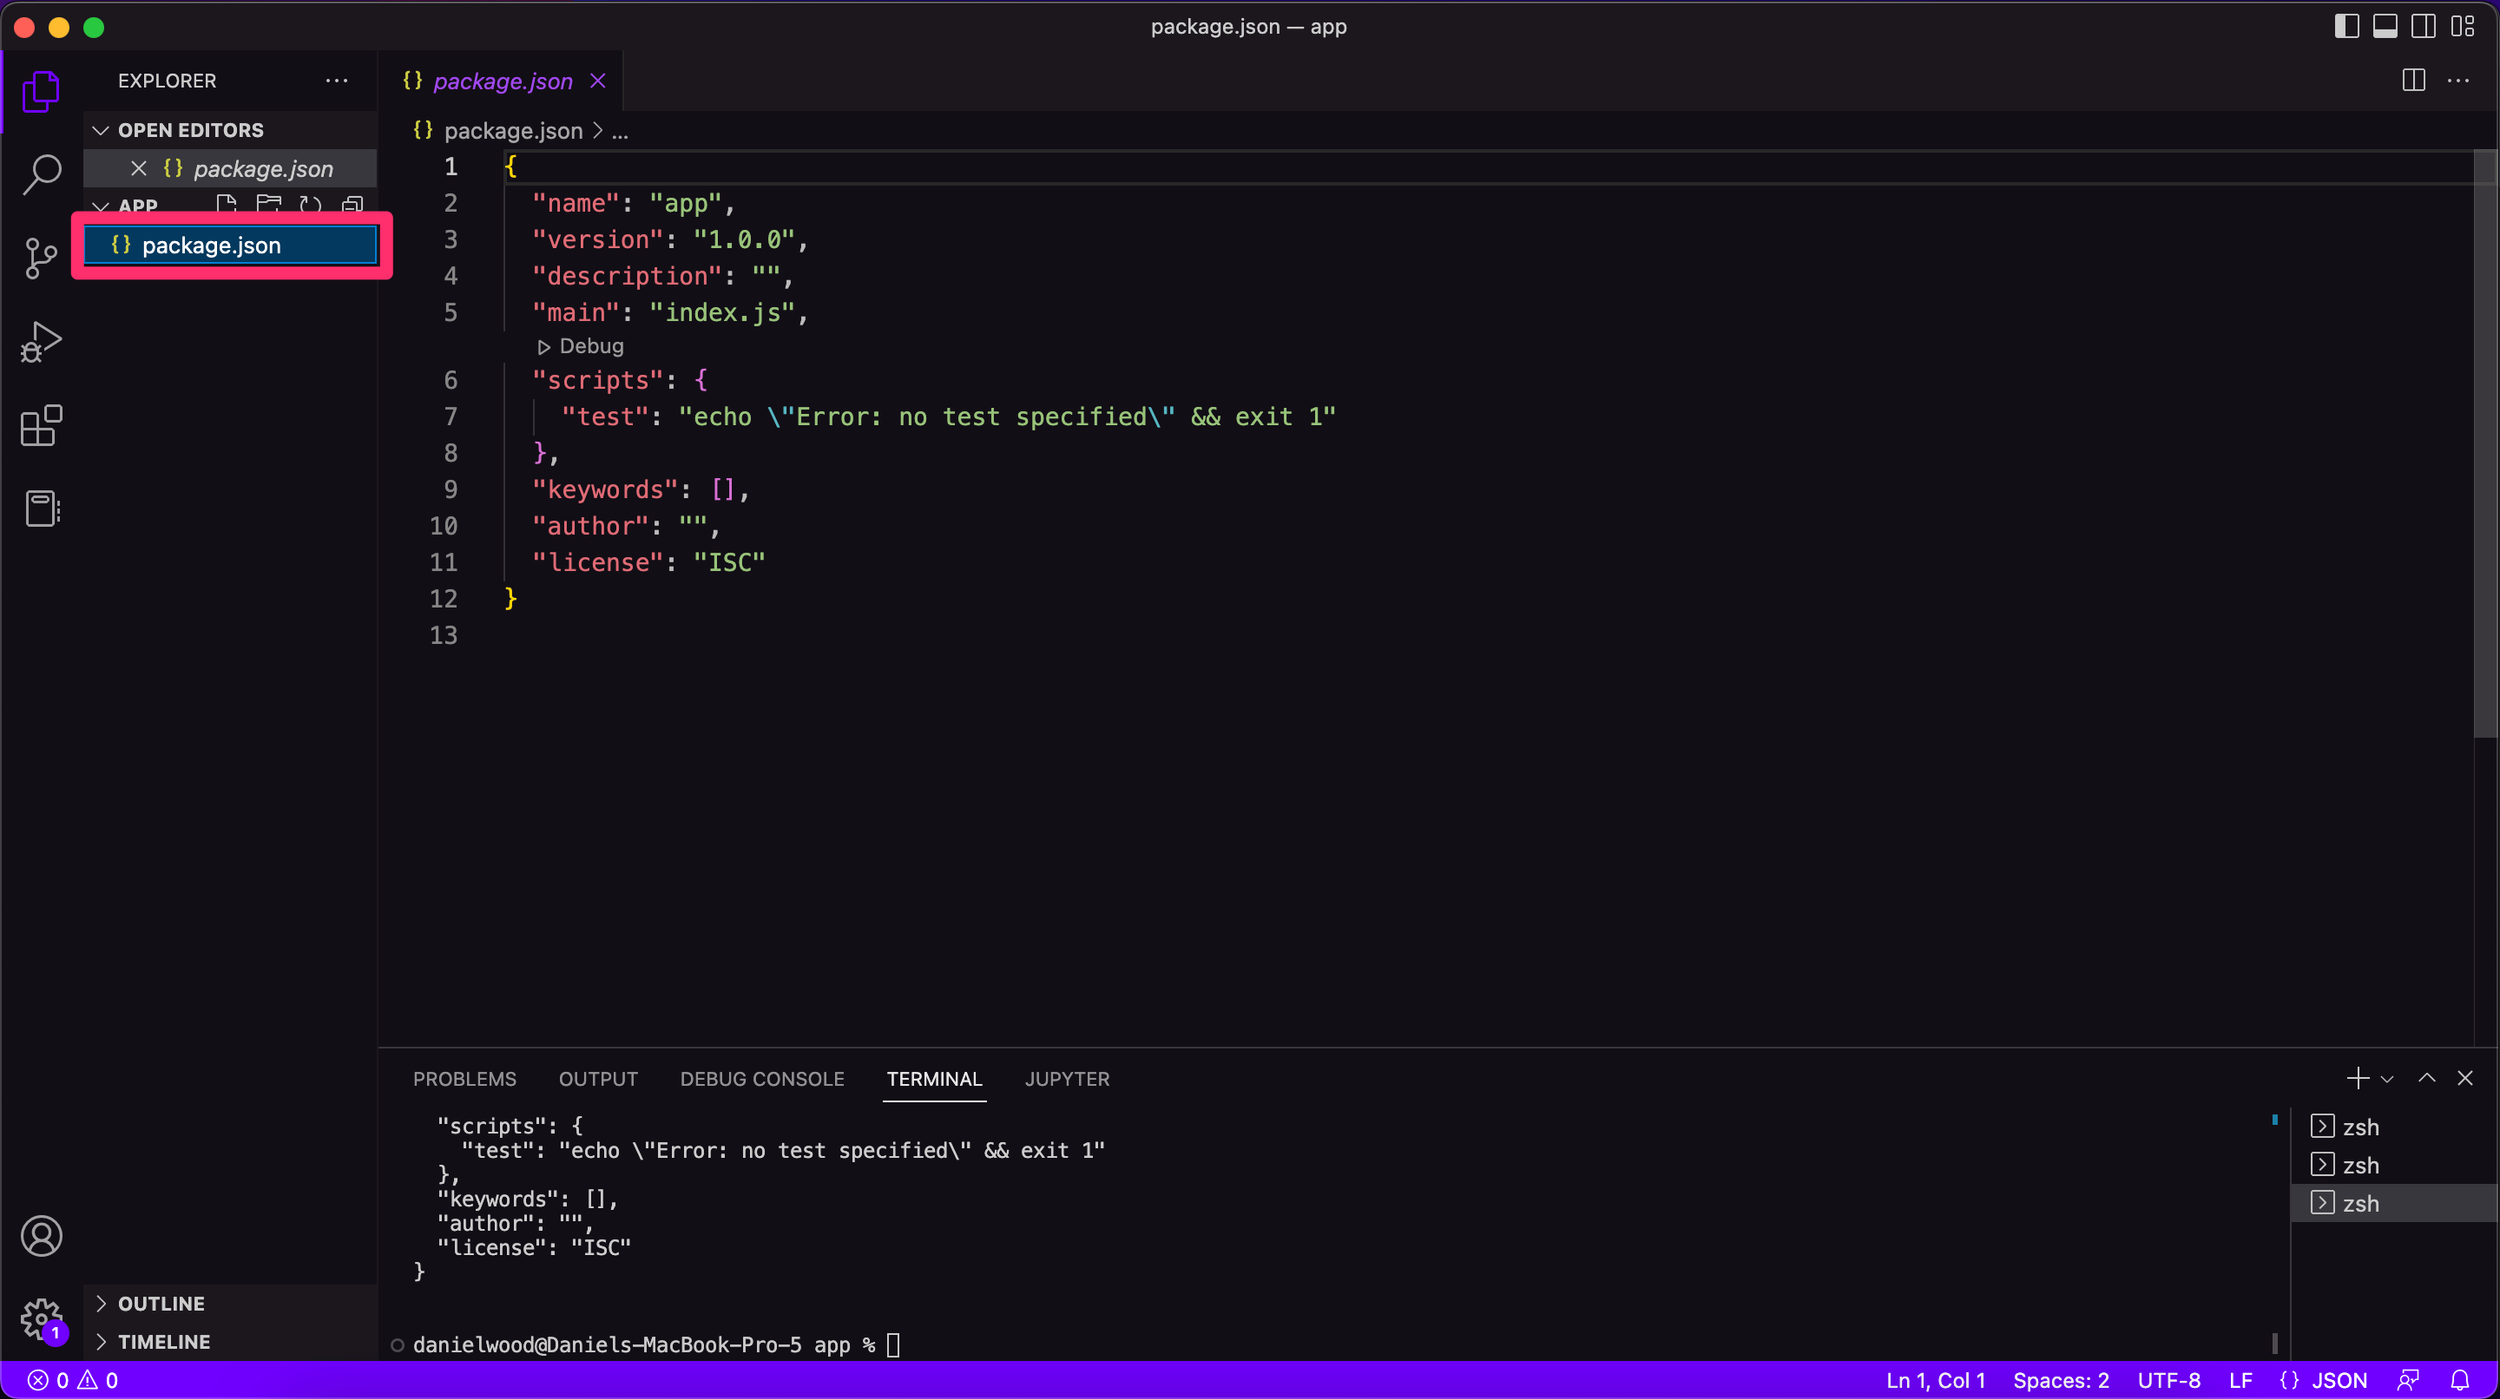
You should now have a new package.json file in your project folder. Open the file.
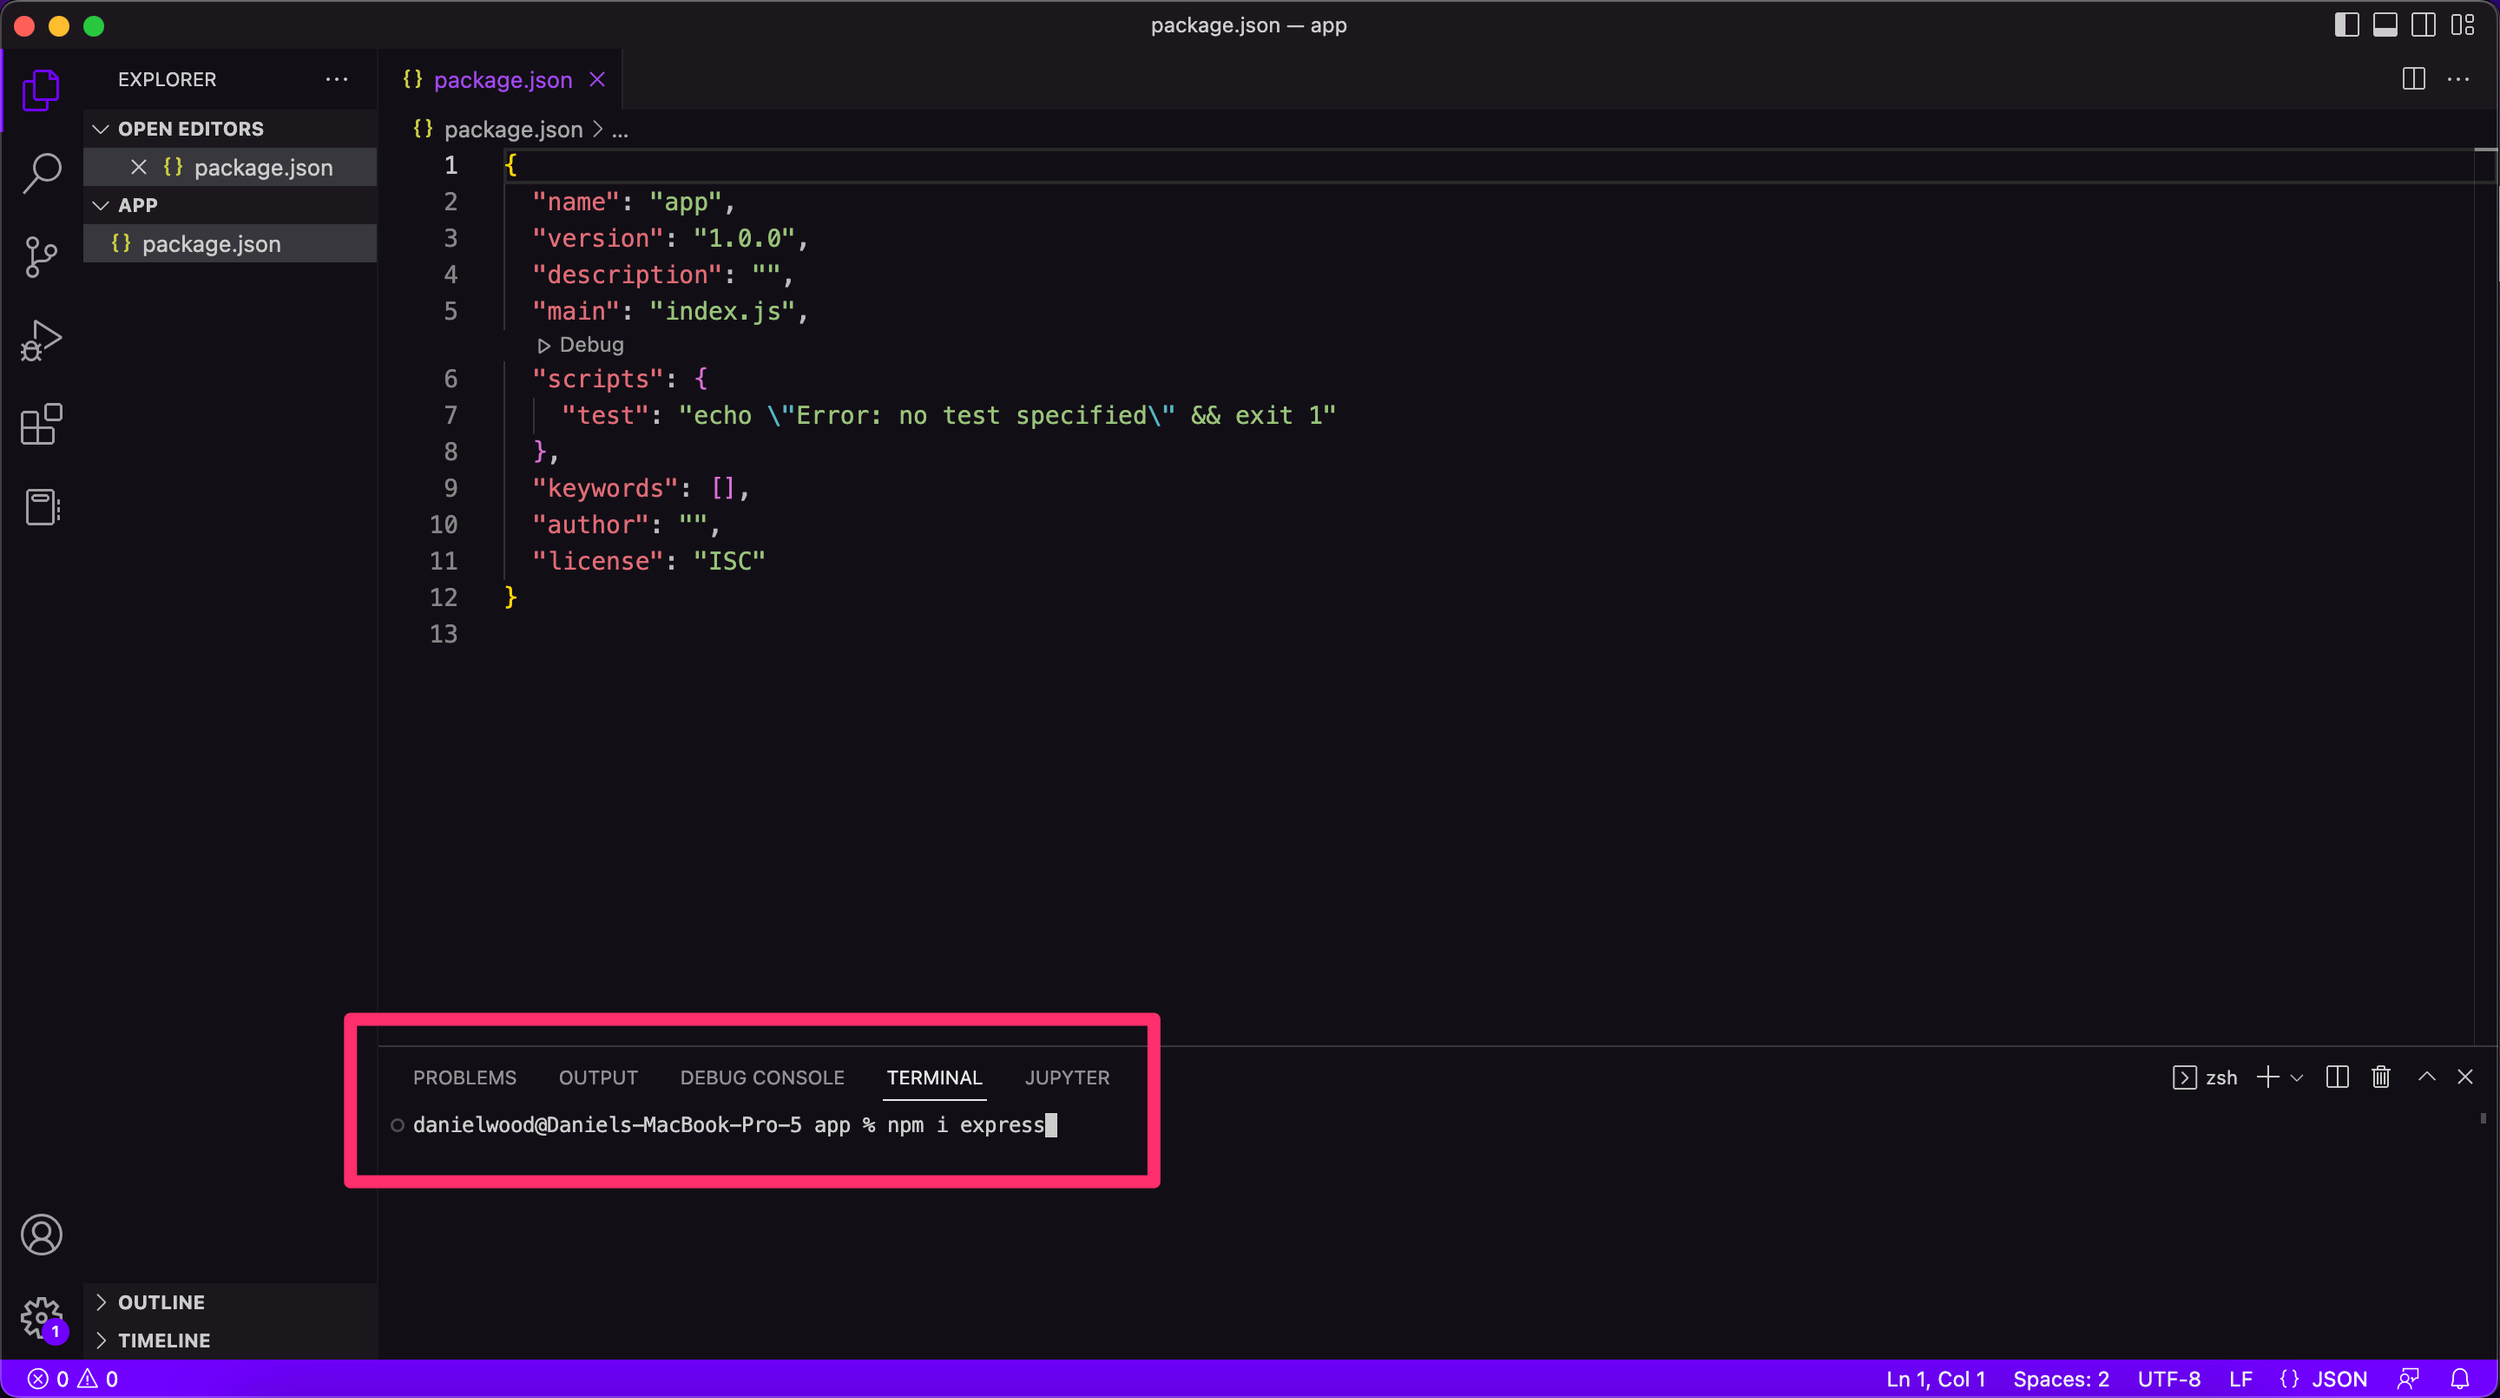
Run the following command in the terminal to install Express:
npm i express
The package.json file will be updated once Express has finished installing. You will see “express” and the installed version under dependencies in the package file. In this example, we are using Express version 4.18.2 (as seen on line 13 in the package.json file shown below).

Step 3 - Create your Express server
The next step is to create an Express server that will handle requests from the client (user) and send responses to the client. This is achieved by setting up routes. A route is a way to handle HTTP requests to a specific path on a server. It is a way to map a specific URL pattern to a function that will be executed when a request is made to that URL. For example, you might have a route set up to handle HTTP GET requests to the path "/users", which might display a list of users to the client, or a route to handle GET requests to the path “/login” which might display a login form to the user. There are a few different types of HTTP requests such as GET and POST requests. We will explore the different types of HTTP requests in another lesson.
To set up a route, we need to specify the path and HTTP method for the route, as well as the function that should be executed when a request is made to that path. We will start by setting up a route for GET requests for the homepage (with the path “/index”) that will just display a simple “Hello World!” message for now.
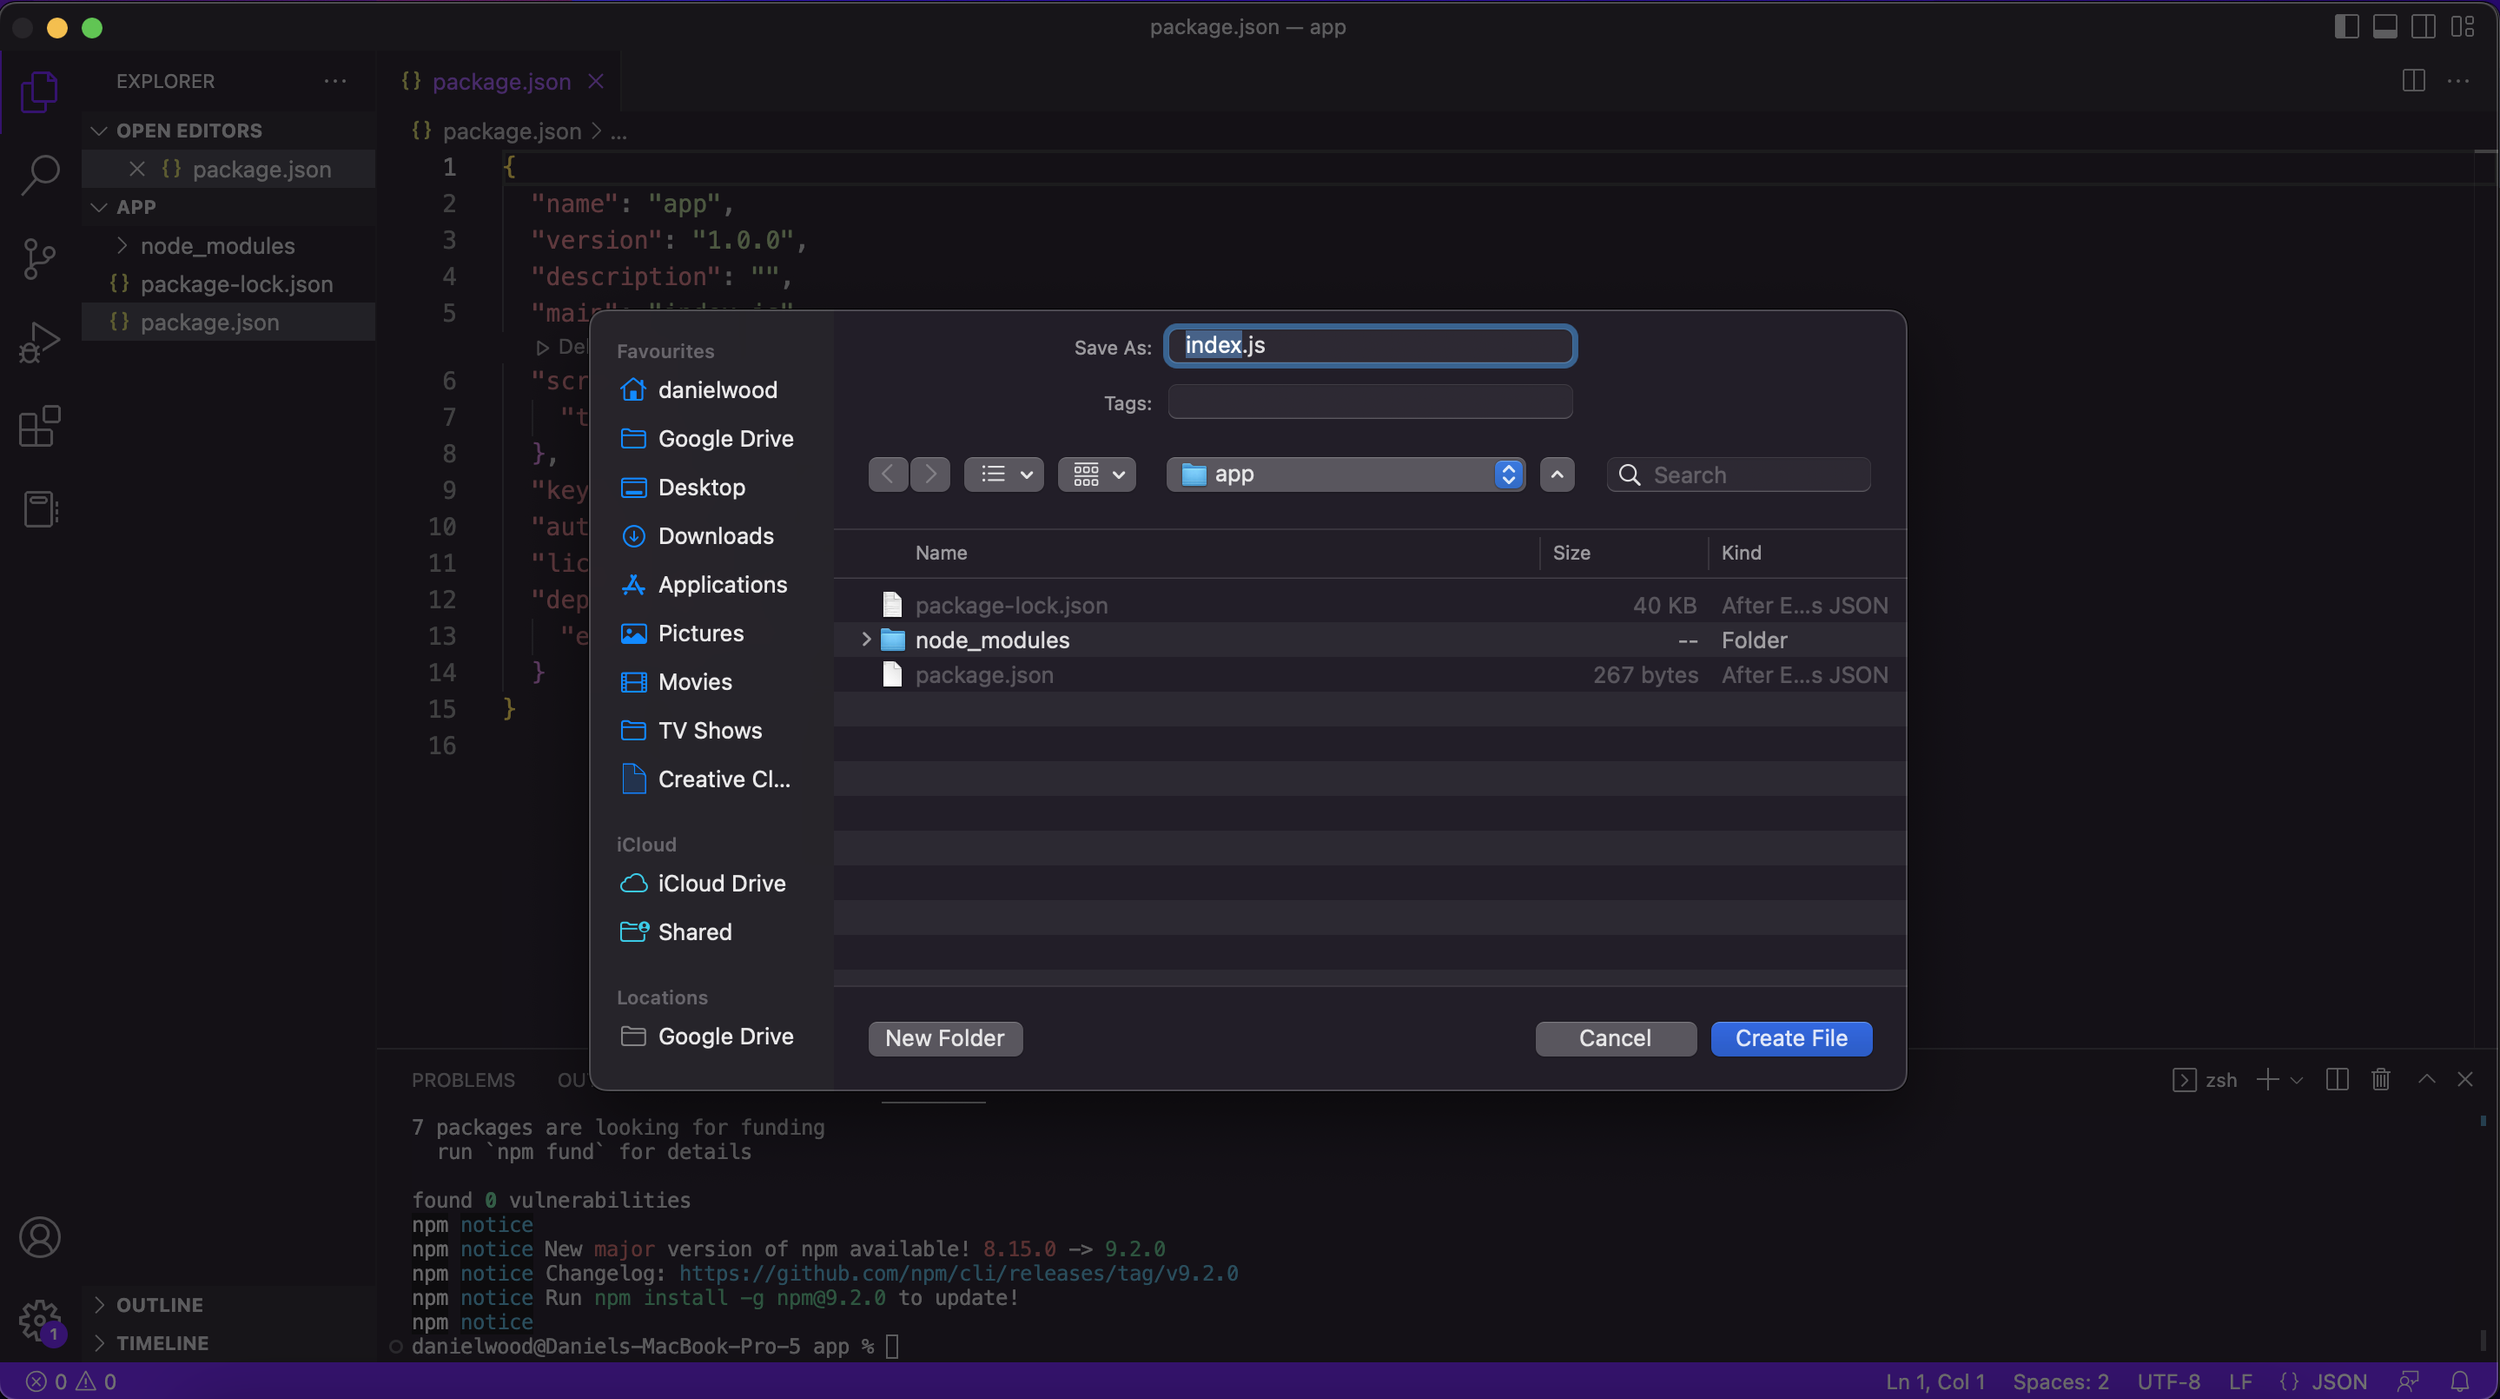
To create your Express server, you will need to create a new file that will contain the code. Click File > New and create a new file called index.js .
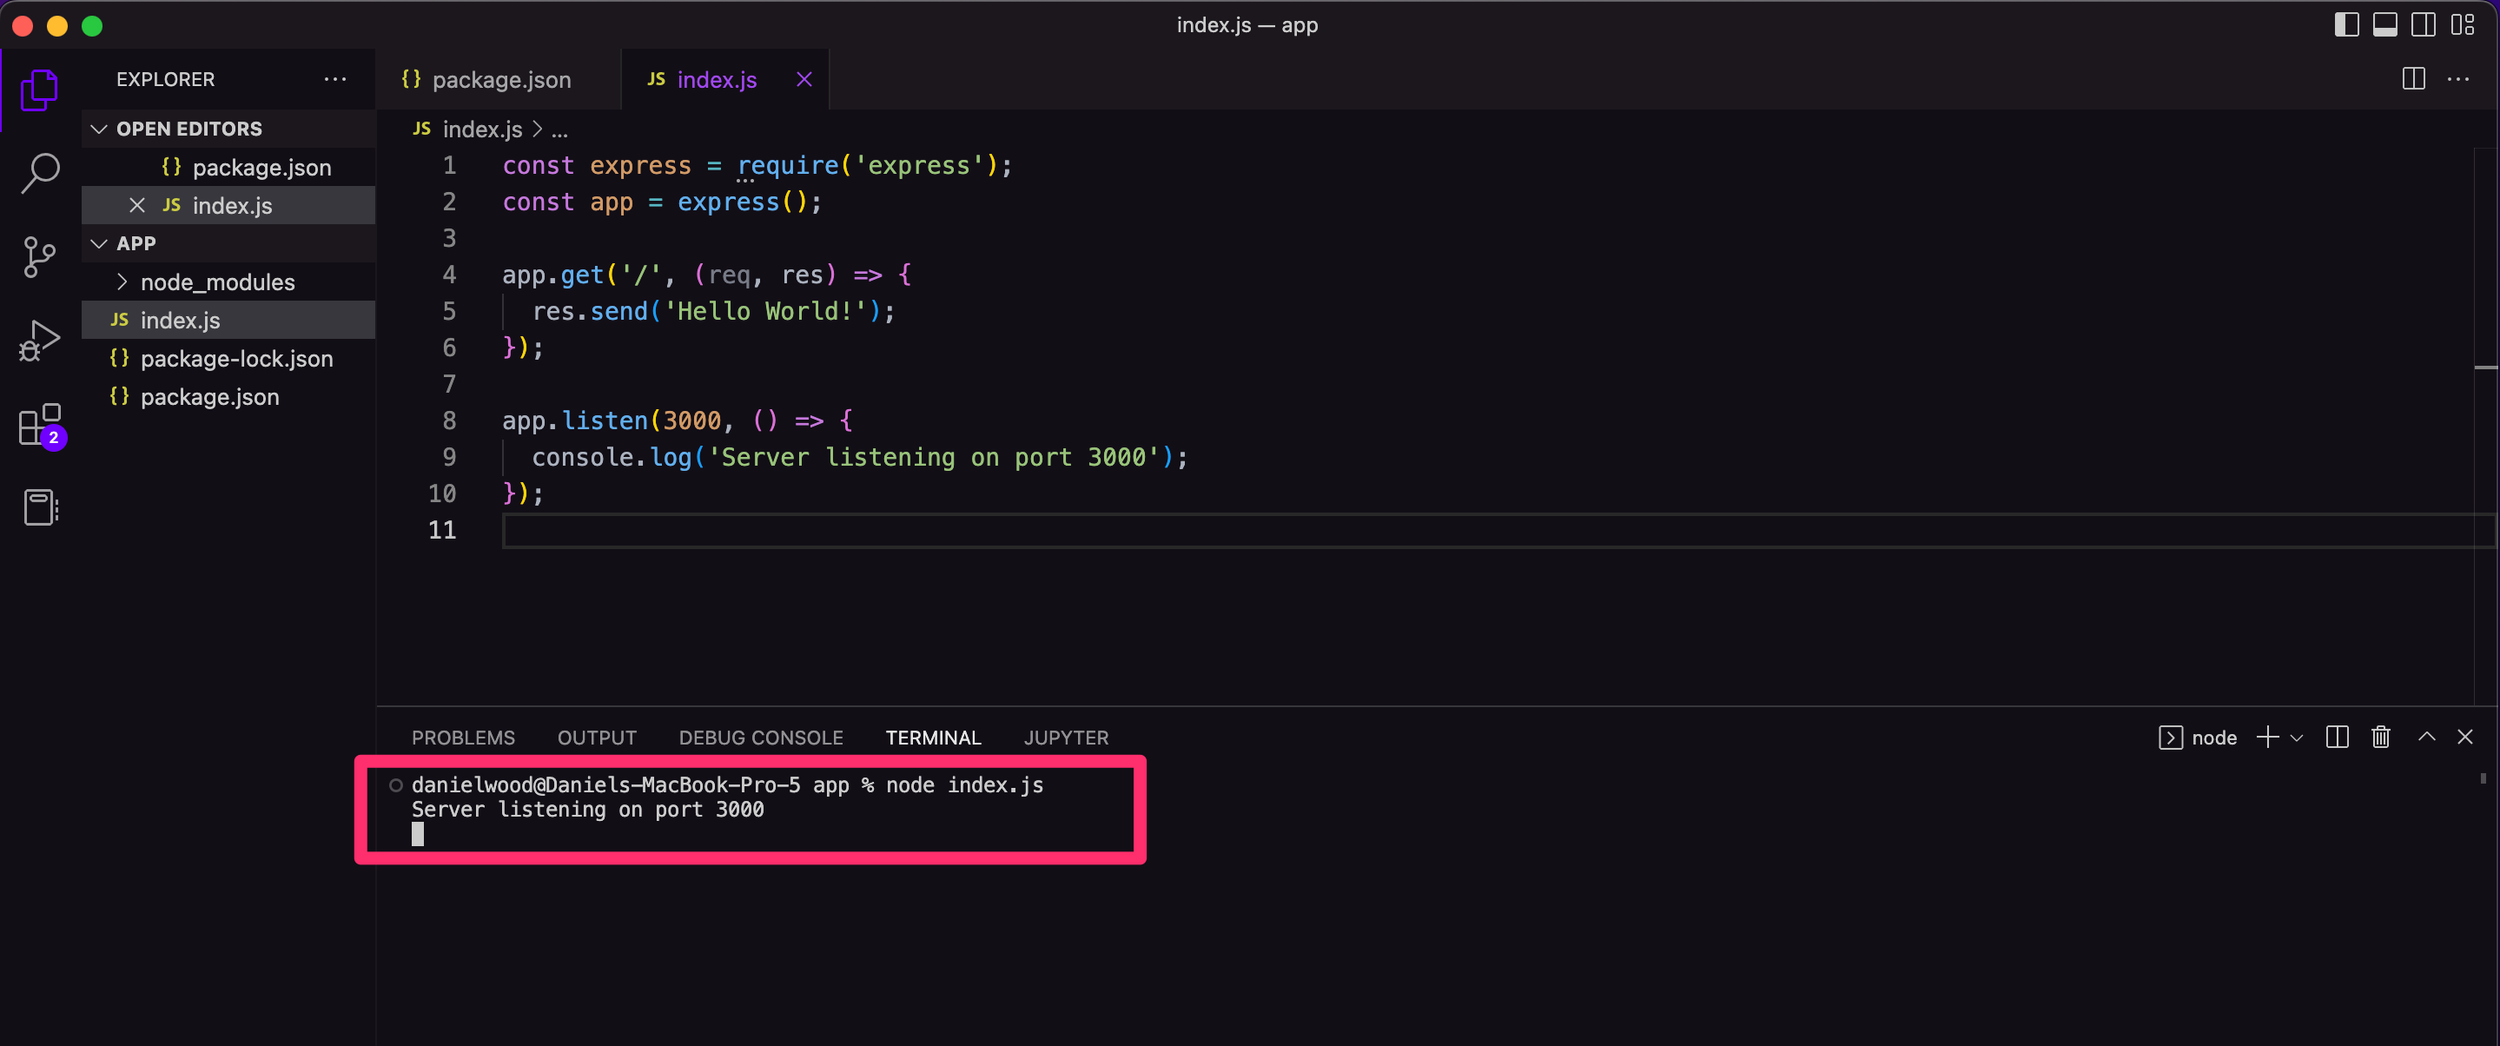
Add the following code to the index.js file. We will explore what this code does a little later in this lesson.
Step 4 - Run the Express server
Enter the following command in the Visual Studio Code terminal to run the server:
node index.js
Note: If you’re using replit.com, just click the Run button. Your server is now running! You should see the message “Server listening on port 3000” in the terminal confirming that the server has started. If you’re using the Mac Terminal or Windows Command Prompt (instead of Visual Studio Code’s terminal), you will need to make sure you have already navigated to the project directory/folder using the cd (change directory) command, as explained back in step 2, before running the server.
Note: You will need to run the server each time you have made and saved changes to your server code (in the ‘index.js’ file). You might need to close the current terminal and open a new terminal.
Open your browser and navigate to the following path:
http://localhost:3000

How does this code work?
Let's break down what this code means, line by line starting with the first line of code. The first line of code gives us access to the Express library that we installed earlier so we have access to all the functions we need to build our Express app.
const express = require('express');
In the next line of code, we call the express() function to create an application where we will set up our server.
const app = express();
The next block of code is our first route. In web application frameworks like Express, you build an app by creating routes that specify responses to different types of requests made by the client. We can create different routes for our app that each defines a type of request (req) from a client to a specific path on the server, and the response (res) that should be sent back to the client for that request. Every Express application is basically made up of a series of routing and function calls.
The example route below specifies what response to give when the client makes a GET request to the path “/” on the server. To do this we use the app.get() function which has two parameters. The first parameter is the path requested (in this case, the path specified is ‘/’). The second parameter is a function. We have two parameters for the function here - request (you can call it what you like, but it is usually called req), and response (you can call it what you like, but it is usually called res).
The path '/' points to the root (top-level) of the website which is just the homepage. When the user requests this path (the root), they will be sent a response with the simple message "Hello World!" for now. We can change this later to display rich content, fetch information from a database to send to the user, or send a specific file back to the user. In this example, the path specific to this route is the root or homepage for the app (“/”). However, we can create more routes for other paths such as “/login” or “/users”. We will look at how to create more routes and the different types of requests in the next lessons.
app.get('/', (req, res) => {
res.send('Hello World!');
});
To start the server, we use the app.listen() function. In this case, we are specifying that the app will be running and listening for different requests from the client on port 3000. We could just write app.listen(3000); but in this case, we have also specified to log a message to the console when the server has started.
app.listen(3000, () => {
console.log('Server listening on port 3000');
});
After running the command node index.js in the terminal, the server will start running and will listen for requests to the server on port 3000. TCP port 3000 uses the Transmission Control Protocol. TCP is one of the main protocols in TCP/IP networks and enables establishing a connection and exchanging streams of data.
The app will be able to respond with the message “Hello, World!” to requests to the home page or root URL (“/”) route.
Step 5 - Add more routes
Let’s add another route for a GET request to a different path. In this example, when the client makes a GET request to the path “/about” (either by clicking on a link to /about or typing in the URL), the server will give a different message as a response. Replace the existing code in your index.js file with the following code to add a second route to your server.
You will need to start the server again by running the following command in the terminal:
node index.js
Now, open your browser and navigate to the following path:
http://localhost:3000/about
You should now see a different message in the browser. You now have a server that can handle GET requests for two different paths to your server. Any other request for another path that have not been specified in your routes will return an error message.

In the next lesson, we will look at different types of responses we can send to the client.
Next lesson: Sending responses